

Needs of perfect sticky labels continued:
We just discussed why you should choose containers with little or no complex curves in the labeling area of the container. This article continues our discussion by showing how to create label shapes that apply consistently, limitations on label dimensions, the varying types of labels we can apply to your container with automated machinery, and how you can get assurance that you have a perfect label to container fit.
Label Shape Matters
An automated labeling machine rolls labels onto a container. The label first makes contact with the container and then the rest of the label uses the container’s inertia from the point of contact to apply the remaining material. Creating intricately shaped labels with multiple initial points of contact can introduce challenges. Design your label to have a single, initial point of contact to achieve great results.
Example: The label to the left will be applied with the left-side top and bottom of the crescent contacting the container at nearly the same time. If the container sits even at a slight angle when the label is applied, you could have a situation where the top of the crescent is applied first and then the bottom.
When the rest of the label material is pulled onto the container the top contact point will pull more material over more time than the bottom contact point. Consequently, a wrinkle will form towards the bottom of the label. However, this becomes less likely if the label were applied from the right-side first, since there’s only one, large, initial point of contact.

Label width and height for roll-on labels
Like Scotch Tape, the length of the label can be variable, which means the circumference of the container is not in anyway constrained.
However, the height/width of the label is limited to 7 inches. This limits how much of the height of the labeling area a label can cover, and without this limitation it becomes difficult to guarantee the proper application of a label to the container.
Finally, we ask that all our customers allow a 1/16th of an inch space between the edges of the labeling area and the tops and bottoms of the label. Without this extra tolerance, labels can sometimes exit the labeling area and enter areas of the bottle where complex curves exist.
Label Varieties
At BPI Labs, we can offer the following four labeling services:
- Wrap-Around: It’s a single label that wraps around a container.
- Double Sided: Two labels with a label applied to the front and the second to the back of a container.
- Spot: A single label applied to the top of a jar or canister. You must have a flat top for a lid.
- Cylinder: A label shaped slightly like a smile so that it will apply levelly on containers that have a bottom to top taper, or vice versa.
Conclusion
In this 3 part series we have tried to explain the four concerns we have with label application. Since automated machinery applies your labels, the container should have a dedicated labeling area with only a single curve. Your label design should have one large point of contact with the container to prevent uneven application of the label. You’ll also need to choose a label application approach that suits your container and brand while keeping in mind the height limit for your label. Finally, you should have BPI Labs test your labels on your containers prior to manufacturing. But before you go, you should see how your label material is a critical last concern in part 3 of this series.
Our Blogs
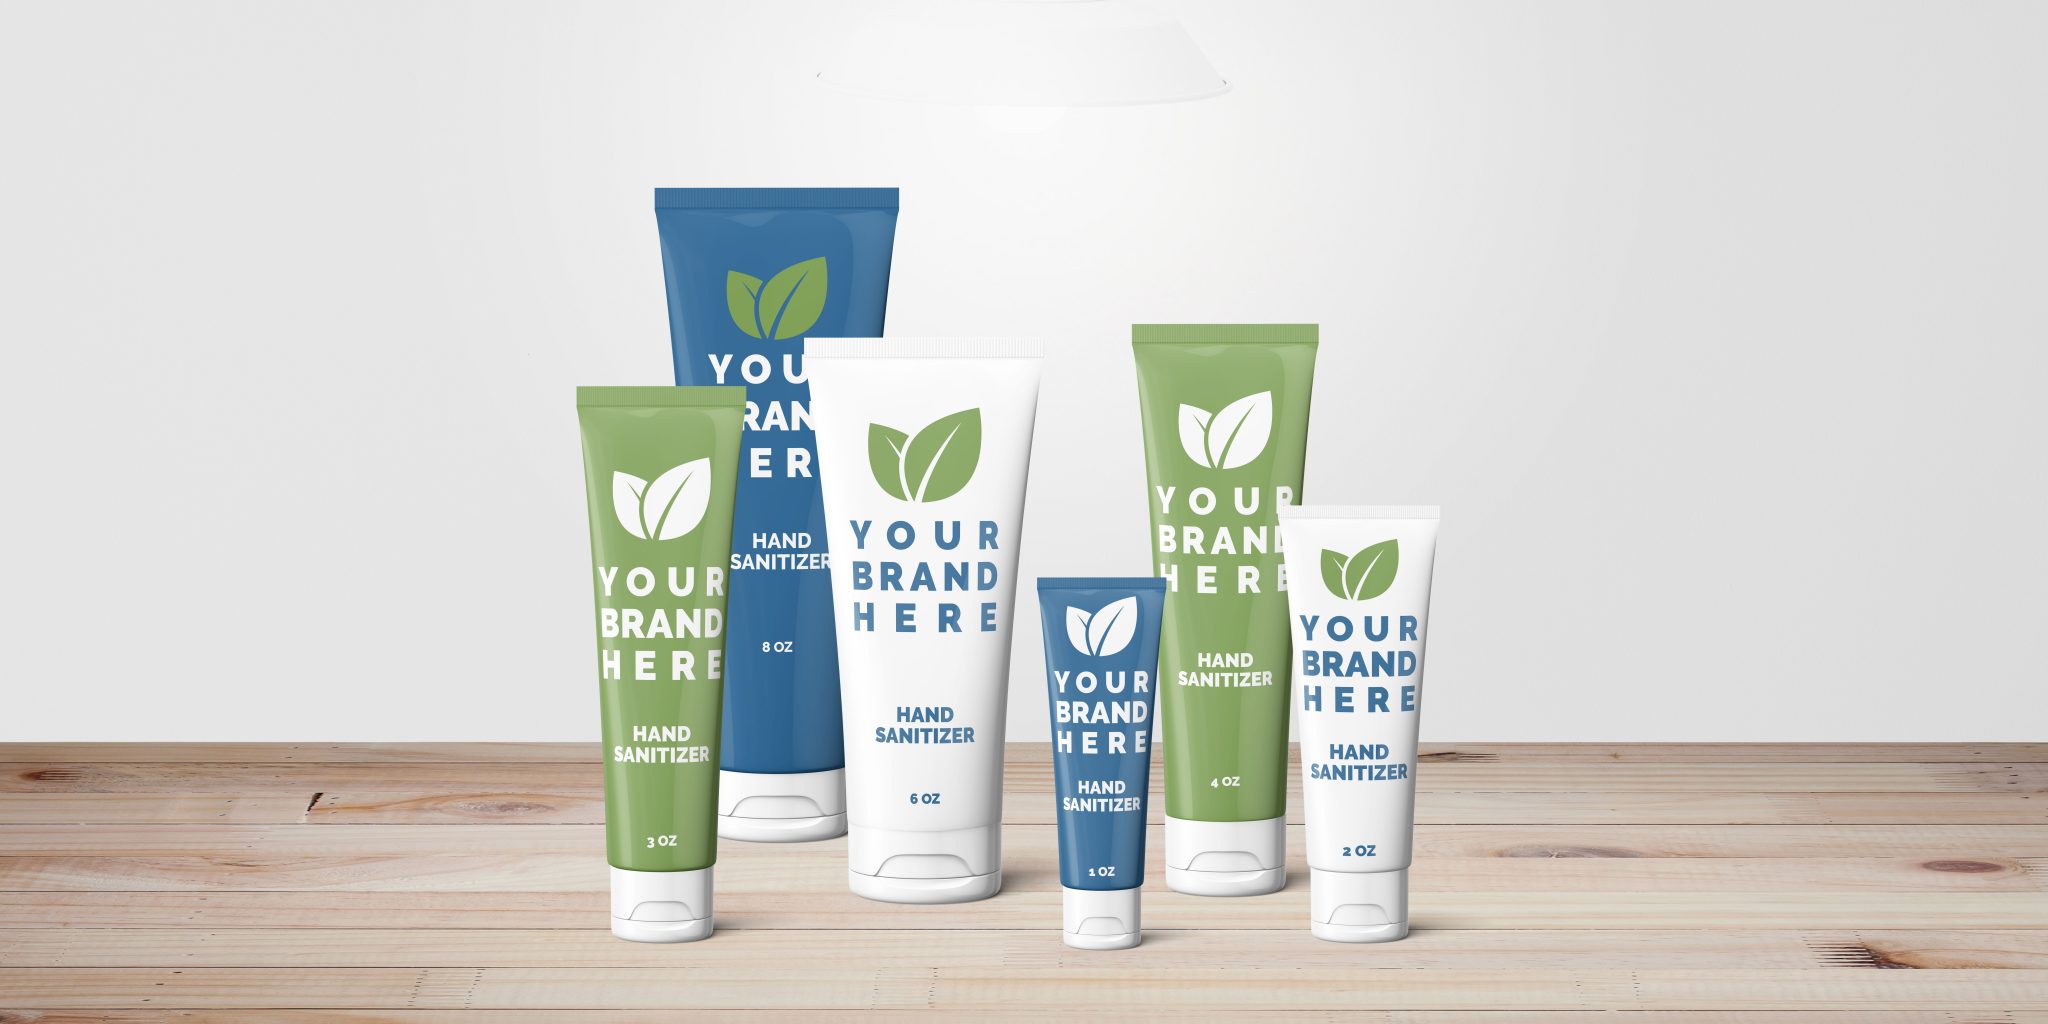
Tube Filling Service
Our tube filling service is our guaranteed fastest, cheapest, most convenient service. Tubes come to our factory,...
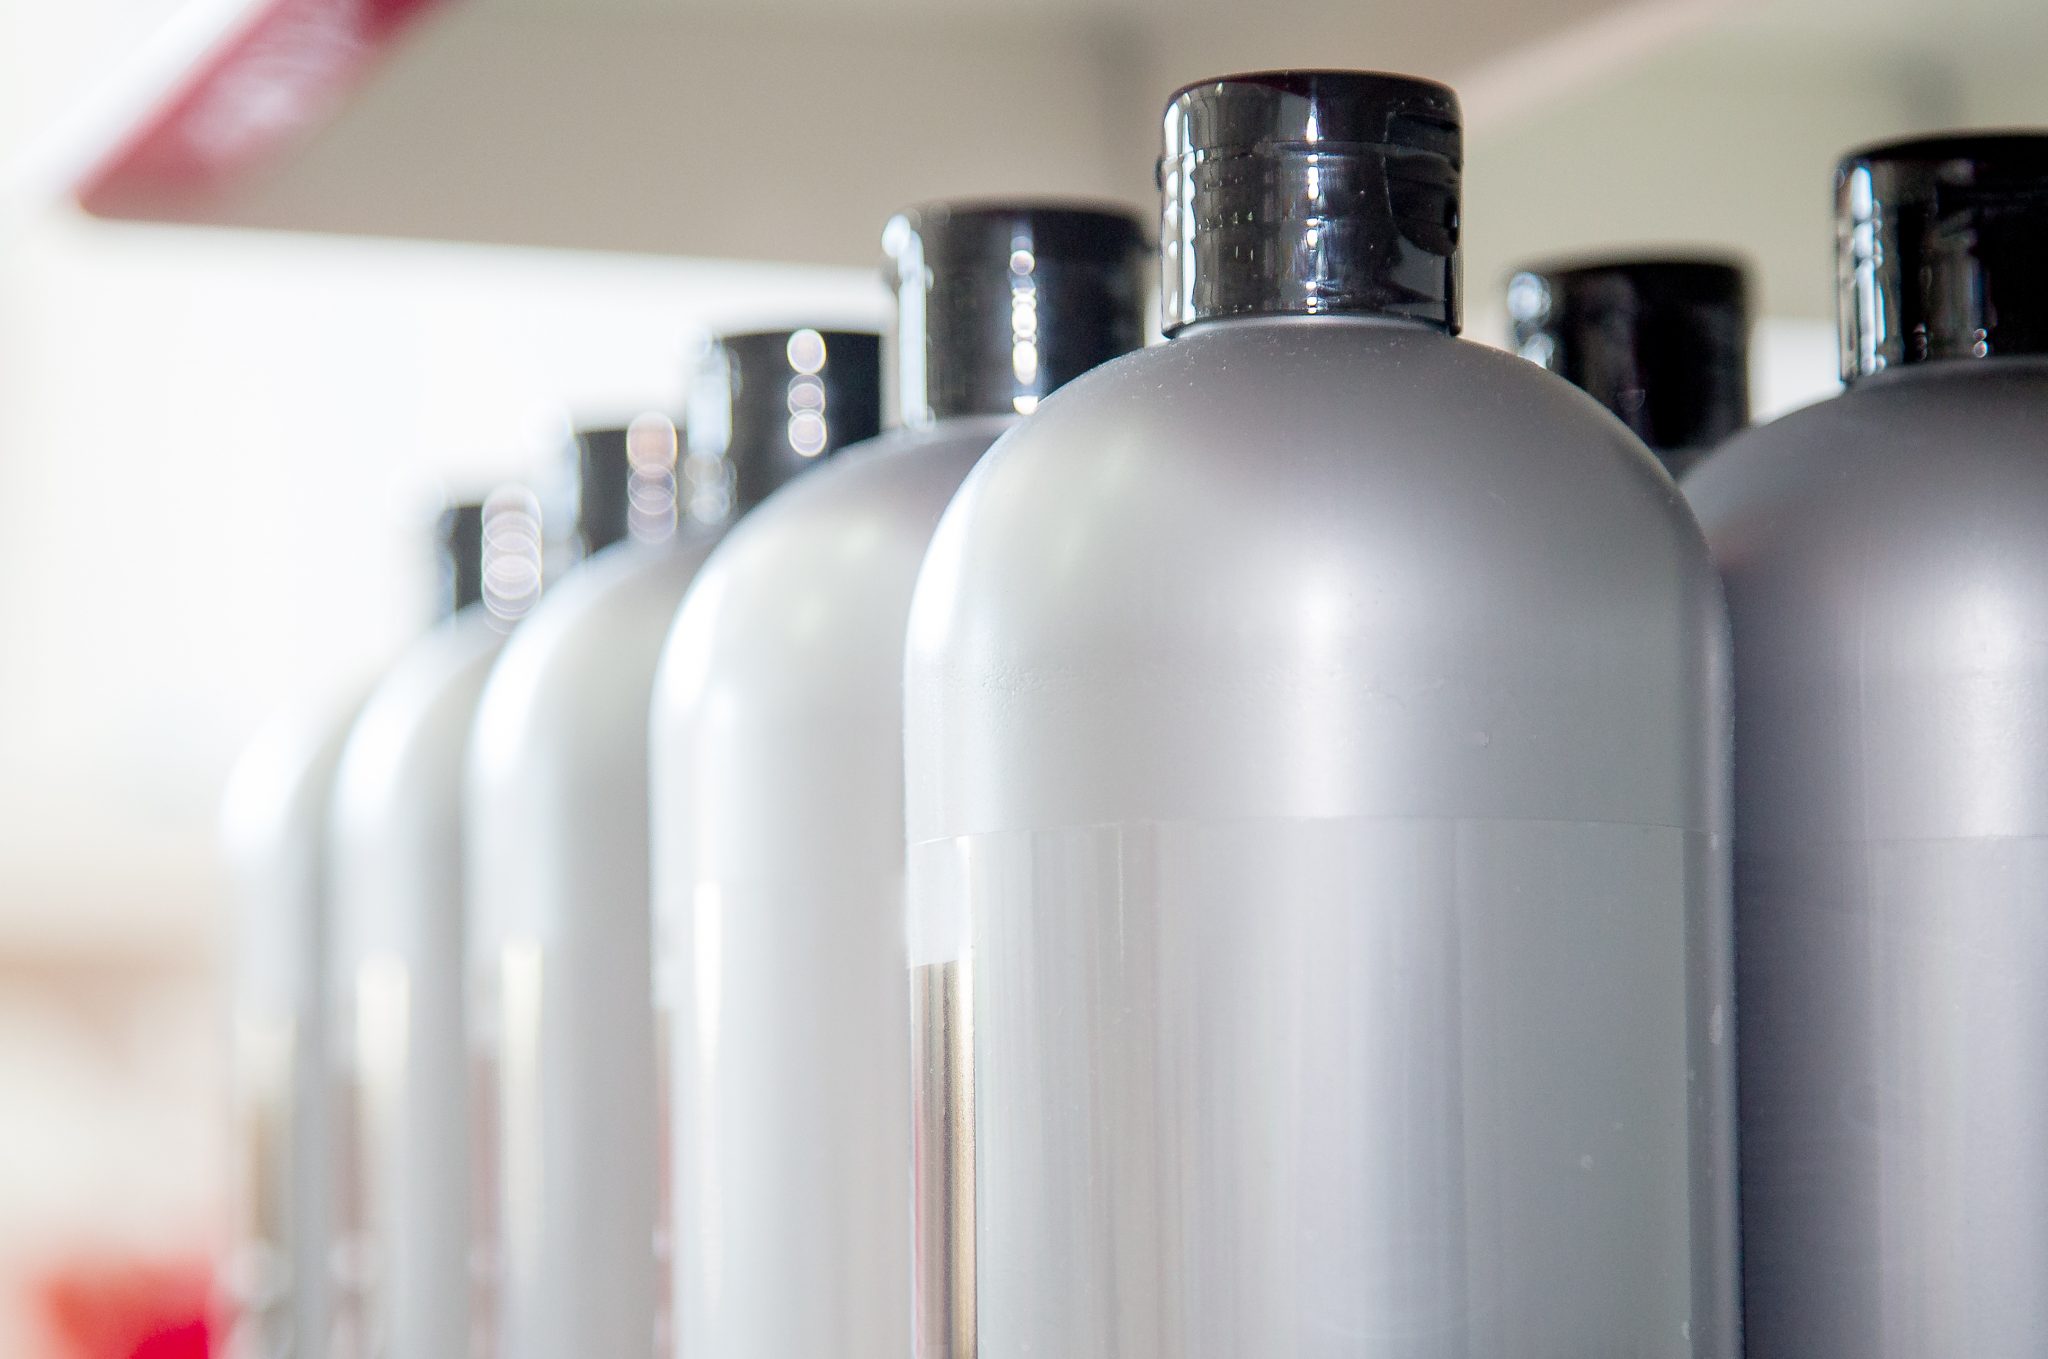
Bottle and Jar Filling Services
Your formula possibilities are extensive with our array of bottle and jar filling equipment. Your product, wet or dry,...
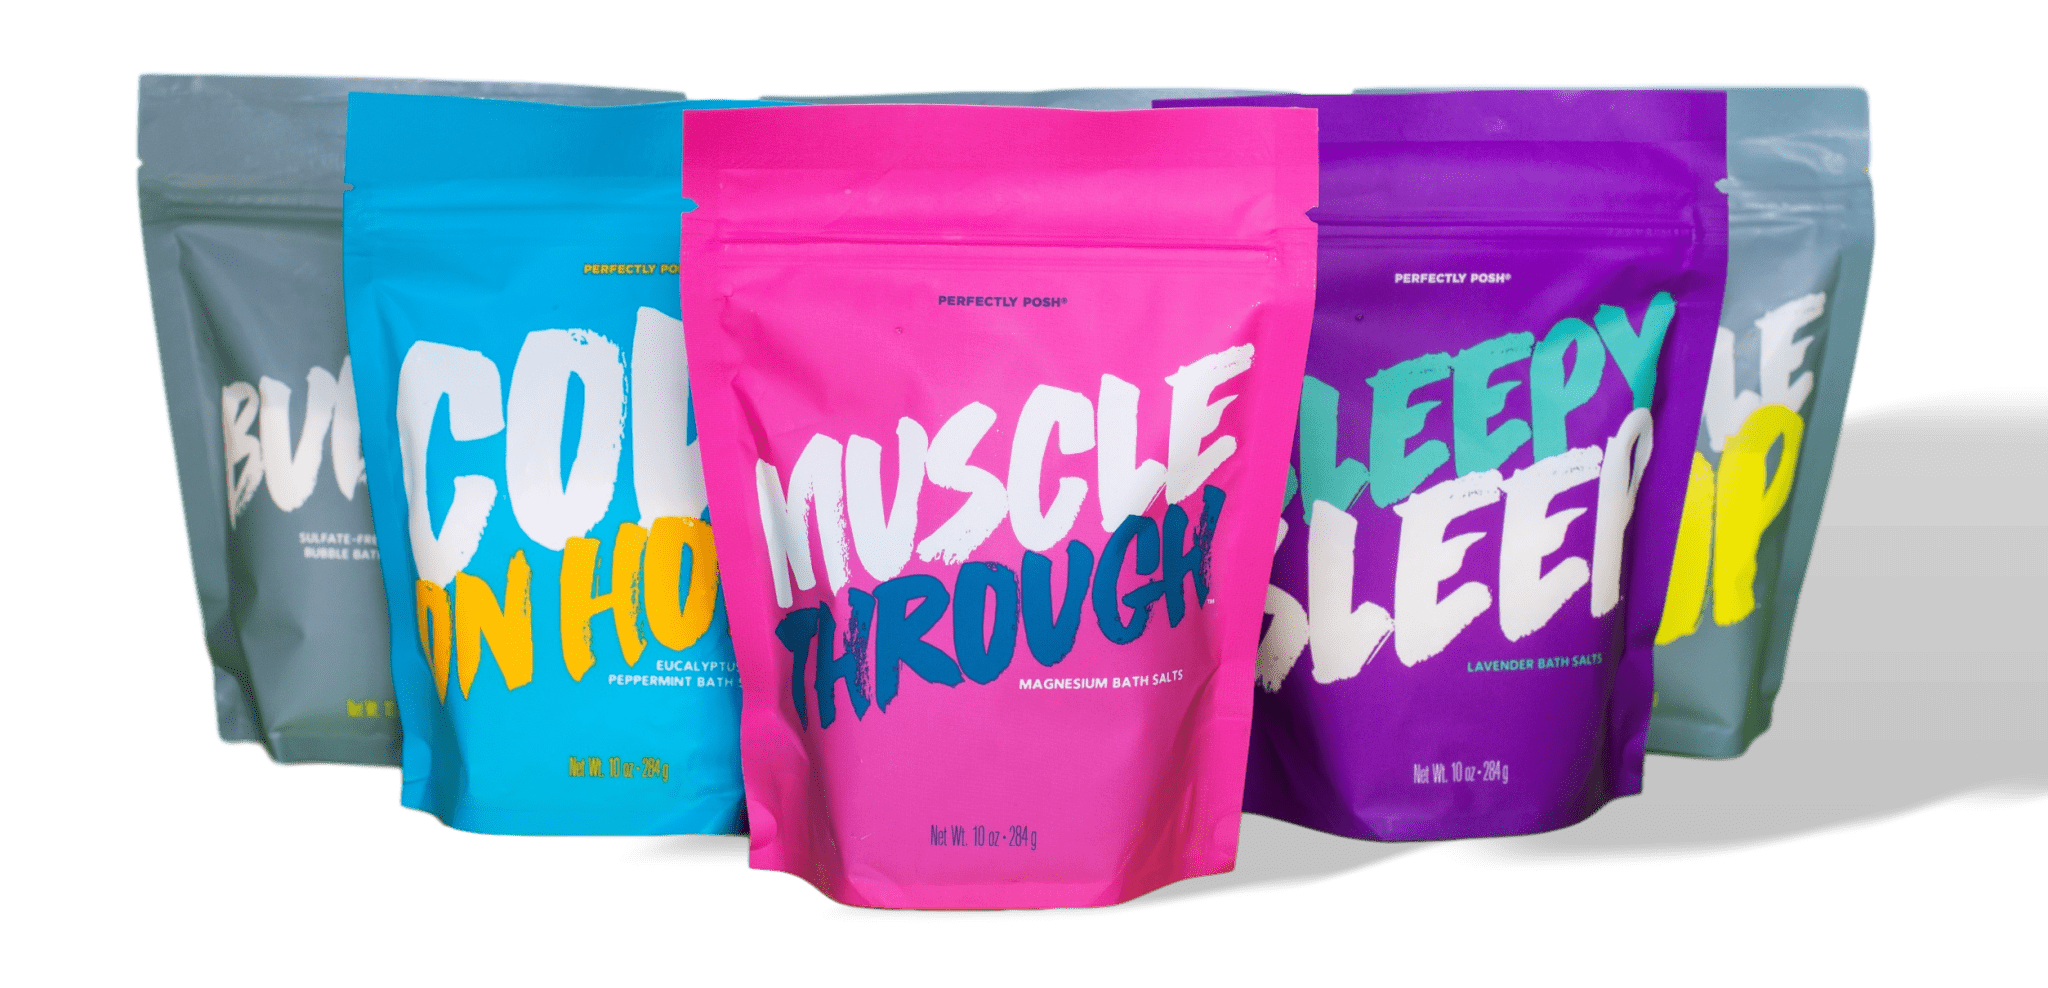
BPI Labs Makes Bath Salts, Scrubs, and Powders
Bath salt, scrubs, and powder manufacturing at BPI Labs BPI Labs offers bulk production and filling services for all...